
Home / Phone Tutorials
How to Transfer Photos from Your Phone to a Windows PC
Difficulty : Medium

Transfer Photos Phone
You may have already read my guide on how to find photos on your phone. If you're wondering where your pictures are stored, why they appear in both Google Photos and your phone's Gallery app, or how to save photos from WhatsApp, don't worry—these are some of the most common questions I hear while helping people with computer and smartphone issues.
In most cases, the confusion comes from cloud storage services such as Google Photos, iCloud, and OneDrive. These services are often enabled by default on Android phones and iPhones, automatically backing up and syncing your photos while encouraging you to upgrade to a paid storage plan when you run out of space.
In this step-by-step tutorial, you'll learn how to transfer photos from an Android phone or iPhone to a Windows PC. Whether you want to copy your entire photo library or move only a few selected pictures and videos, you'll find the easiest method here.
Grab your smartphone, your Windows PC, and a USB cable, and you'll have your photos transferred in just a few minutes. You'll also learn how to back up your pictures to keep them safe and avoid losing your favorite memories.

Transfer Photos and Videos to Your PC: Quick Summary
- Connect your Android phone or iPhone to your Windows PC using a USB cable. When prompted on your phone, select File Transfer, Transfer Photos (PTP), or Allow file access, depending on the option displayed.
- Open File Explorer on your PC and click This PC. Right-click your phone, then select Import pictures and videos.
- Choose Import all new items, enter a name for the import folder, and start the transfer. Windows will automatically save your photos and videos in a new folder (named with today's date) inside your Pictures folder.
Table of Contents
Method 1: Automatically Transfer Photos and Videos
The easiest way to copy photos and videos from your Android phone or iPhone to a Windows PC.
1. Connect Your Phone to Your Computer
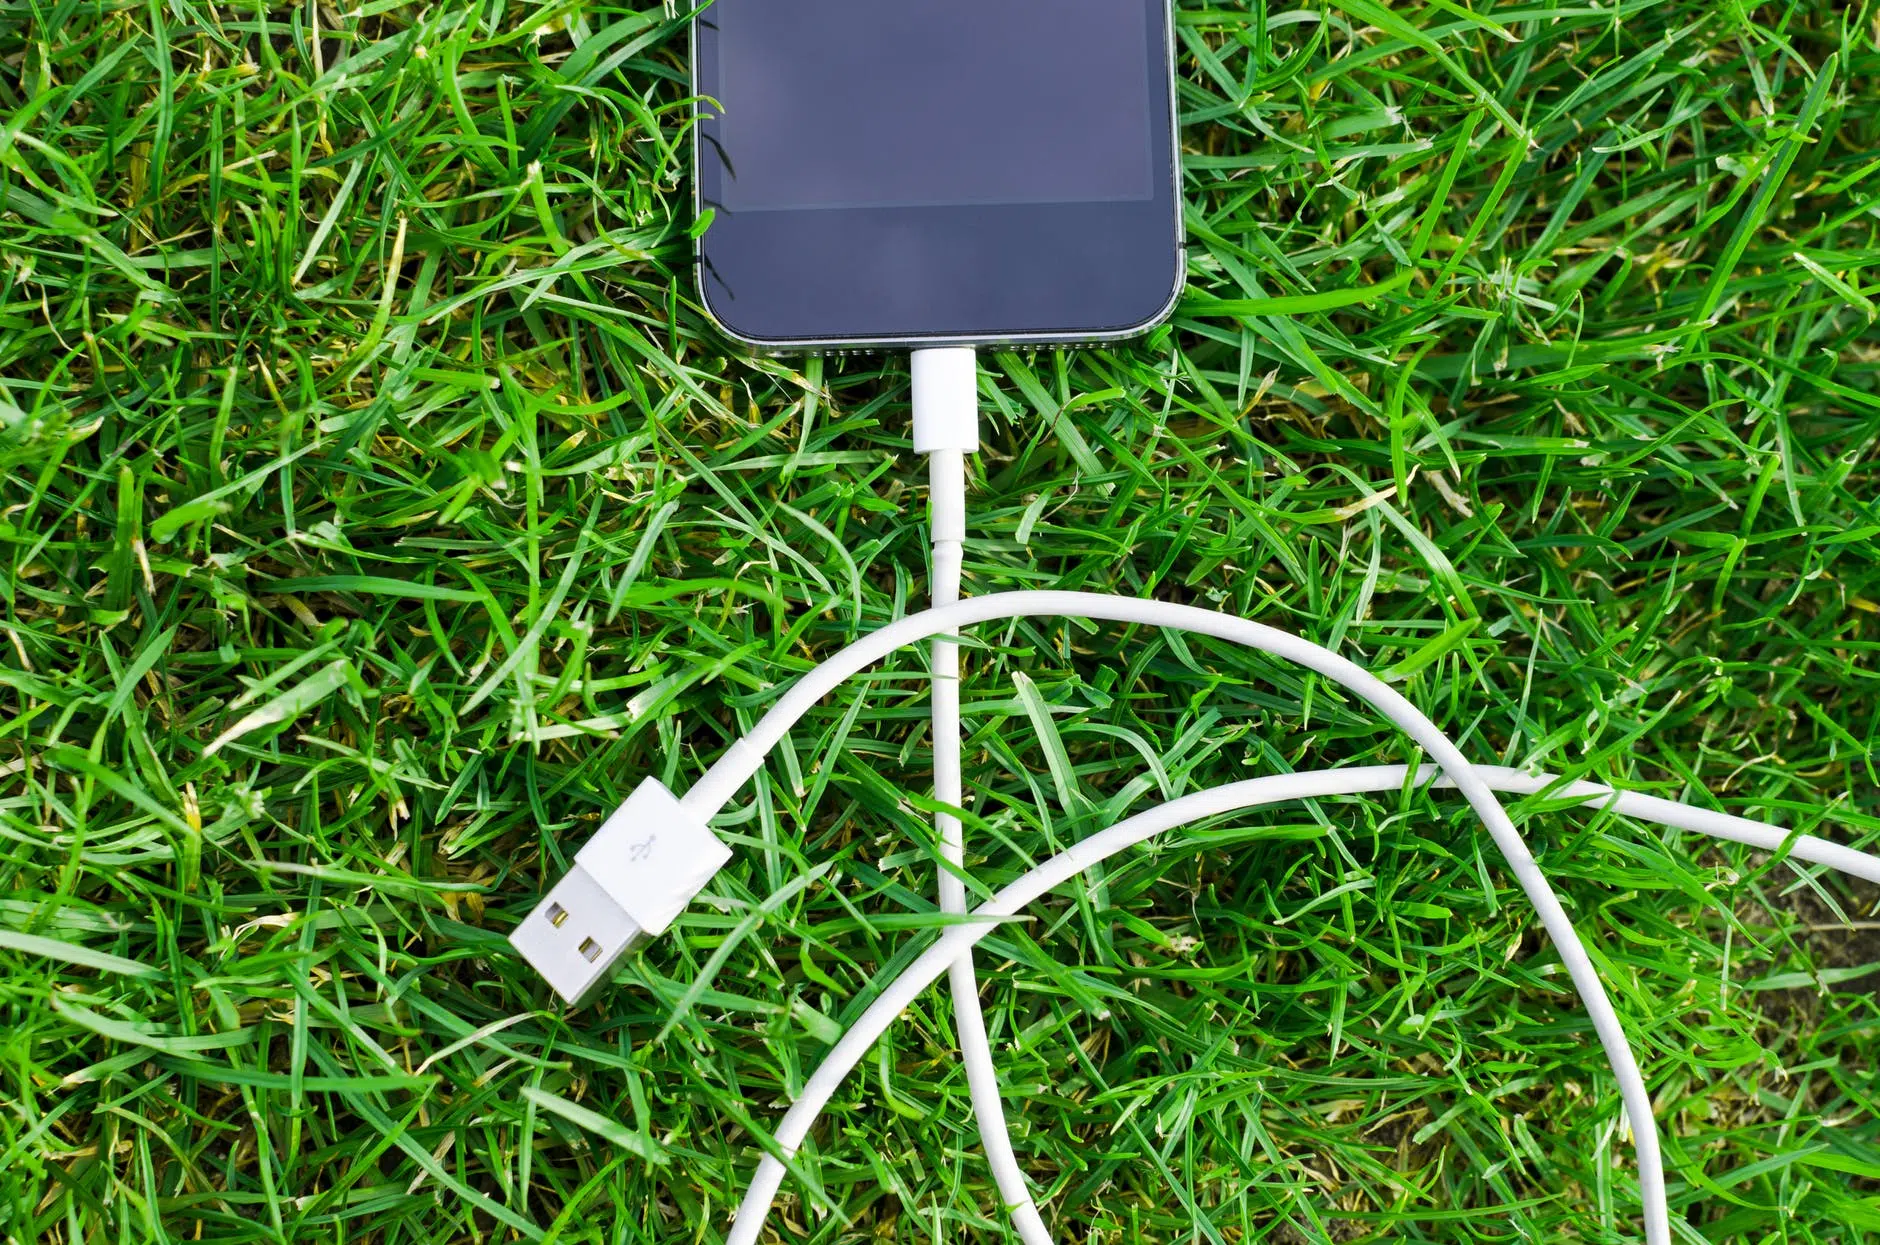
Connect your phone to a USB or USB-C port on your computer using your phone's charging cable. Simply unplug the cable from the power adapter so that you're only using the USB cable.
As soon as your phone is connected, look at its screen. In most cases, you'll see a notification asking what you want to do. Depending on your device, you may see options such as Charge this phone, Transfer photos (PTP), File Transfer, or Allow file access.
Select Transfer photos, File Transfer, or Allow file access, depending on the option displayed on your phone.
If the notification disappears before you can select it, swipe down from the top of the screen to open the notification panel, then tap the File Transfer notification again.
2. Import Your Photos
To start importing your photos and videos, open File Explorer on your Windows PC and click This PC in the left-hand navigation pane. You should see your Android phone or iPhone listed under Devices and drives.
Right-click your phone and select Import pictures and videos.
Windows will start scanning your phone for photos and videos. Once the scan is complete, select Import all new items now, then click Import.
Good to know:
The next time you import photos, Windows will only copy the new photos and videos that haven't already been transferred to your PC. This helps prevent duplicate files.
The import process will begin immediately. If you also want to free up storage space on your phone, check the Erase after importing option. Windows will automatically delete the imported photos and videos from your phone after the transfer is complete.
When the import finishes, your photos and videos will be saved in a new folder inside your Pictures folder. The folder name will include the import date and the name you chose during the import process.
3. View Your Photos
To view the photos and videos you've transferred, open File Explorer and go to your Pictures folder. You'll find them inside the folder created during the import, named with the import date and the folder name you selected.
Use File Explorer only to make sure your photos were copied successfully. To browse and organize your pictures, it's better to use the Microsoft Photos app included with Windows 10 and Windows 11. It displays larger thumbnails and automatically organizes your photos by date without changing your folders or moving your files.
To open the Photos app, type Photos in the Windows taskbar search box, then launch the app. For quicker access in the future, right-click its icon and select Pin to taskbar.
Method 2: Manually Transfer Photos and Videos
This method lets you copy only the photos and videos you want instead of importing your entire photo library.
1. Find Where Your Photos Are Stored
Before transferring your photos, you'll need to find out where they're stored. Depending on your phone, your pictures may be saved in the internal storage or on a microSD card (if your phone has one). Fortunately, it's easy to check.
Open the Camera app, then open Settings (on Samsung phones, this is usually the gear icon). Look for a setting such as Storage location or Save location. It will tell you whether your photos are being saved to your phone's internal storage or to the microSD card.
If you can't find this option, open the Settings app, then go to Storage. You should see where photos and videos taken with your camera are stored.
If your photos are currently saved to your phone's internal storage and you have a microSD card installed, consider changing the storage location. This can free up valuable space for new apps, updates, and future photos.
If your phone doesn't have a microSD card yet, you can easily buy one online or from most electronics stores. A 64 GB or 128 GB card is more than enough for most users.
2. Connect Your Phone to Your Computer
Now that you know where your photos are stored, you're ready to copy them to your Windows PC.
Connect your phone using the USB cable that came with it. In most cases, this is simply your phone's charging cable—just unplug it from the power adapter and connect it directly to your computer.
Once your phone is connected, a notification may appear on its screen. Select File Transfer, Transfer files, or a similar option instead of Charge only so your computer can access your photos and videos.
3. Open Your Phone's Photos on Your PC
On your computer, open File Explorer and click This PC in the left-hand navigation pane. Your phone should appear under Devices and drives. Double-click it, then open the DCIM folder followed by the Camera folder.
If your photos are stored on a microSD card, open the Card folder first. If they're stored in your phone's internal memory, open the Phone folder instead. Most smartphones save photos in the internal storage by default.
The most common folder paths are:
Phone > DCIM > Camera
Card > DCIM > Camera
If you've added a microSD card after purchasing your phone, it's worth checking both locations. You may find that some photos are stored in the phone's internal memory while newer ones are saved on the microSD card.
4. Select the Photos You Want to Transfer
Select the photos and videos you want to copy to your computer. You can transfer everything or choose only the files you need.
Useful keyboard shortcuts:
Ctrl + A — Select all photos.
Ctrl + Click — Select multiple individual photos.
Shift + Click — Select a continuous range of photos.
Once you've made your selection, right-click the files and choose Cut, or press Ctrl + X, if you want to move them from your phone to your PC.
If you'd rather keep a copy on your phone, choose Copy, or press Ctrl + C.
5. Copy Your Photos to Your Computer
Before transferring your files, I recommend creating a dedicated folder on your PC. Open the Pictures folder in File Explorer, then create a new folder (Right-click > New > Folder). Give it a descriptive name, such as Phone Photos, Smartphone Photos, or Samsung Photos.
Open the new folder, then right-click > Paste, or press Ctrl + V. Your photos will immediately begin copying (or moving) to your computer.
Once the transfer is complete, take a few minutes to organize your pictures and delete any unwanted photos or videos. You can also resize the thumbnails in File Explorer by holding Ctrl while scrolling the mouse wheel.
For a faster and more convenient full-screen photo viewer, I recommend IrfanView, a free application. It's much quicker than the default Windows Photos app, especially when browsing through large photo collections. Once you've tried it, you'll probably never go back.

FAQ – How to Transfer Photos and Videos from Your Phone to a PC
1. How do I transfer photos from my phone to a Windows PC?
Connect your Android phone or iPhone to your computer using a USB cable. Unlock your phone and select File Transfer, Transfer Photos (PTP), or a similar option if prompted. On your Windows PC, open File Explorer, click This PC, then right-click your phone and choose Import pictures and videos. You can also open the DCIM folder and manually copy your photos.
2. Where are photos stored on my phone?
Photos taken with your camera are usually stored in the DCIM/Camera folder, either in your phone's internal storage or on a microSD card if you're using one. Photos received through WhatsApp, Facebook, Messenger, and other apps are often stored in separate folders created by each app.
3. What's the easiest way to transfer photos to a PC?
The easiest method is to use the built-in Windows Import feature. It automatically detects your photos, creates a folder on your computer, and usually imports only new photos, helping you avoid duplicate files.
4. Can I transfer only selected photos?
Yes. Open your phone's storage in File Explorer, then select only the photos you want to copy. Use Ctrl + Click to select individual photos or Shift + Click to select a range of files.
5. How can I avoid duplicate photos?
If you use Import pictures and videos in Windows, only new photos are typically imported. If you're copying files manually, create folders organized by date or event to avoid copying the same photos more than once.
6. Where are my photos saved on my PC?
By default, Windows saves imported photos to your Pictures folder. Depending on the import method, Windows may automatically create a new folder named with the import date. You can also choose your own destination folder.
7. Can I delete photos from my phone after transferring them?
Yes. However, make sure all your photos have been successfully copied to your computer before deleting them. Some Windows import tools also include an Erase after importing option that automatically removes the photos from your phone once the transfer is complete.
8. How do I manually transfer photos from my phone?
Connect your phone to your PC using a USB cable and select File Transfer. Open This PC in File Explorer, then browse to the DCIM folder or other folders such as WhatsApp, Pictures, or Downloads. Select the photos you want and use Ctrl + C and Ctrl + V to copy them to your computer.
9. How do I quickly select all my photos?
Press Ctrl + A to instantly select every photo in the current folder. You can then press Ctrl + C to copy them or Ctrl + X to move them to your computer.
10. Why should I transfer photos from my phone to a PC?
Regularly transferring your photos to a Windows PC helps free up storage space, keeps your memories organized, makes it easier to create backups, and reduces the risk of losing your photos if your phone is lost, stolen, or damaged.
Conclusion
I hope this guide has helped you transfer photos from your Android phone or iPhone to your Windows PC quickly and easily.
If Windows doesn't recognize your phone or the transfer doesn't work, try using the official software provided by your phone's manufacturer. For example, Samsung Smart Switch makes it easy to back up and transfer photos, videos, contacts, and other data from Samsung devices. Other manufacturers also offer their own transfer tools, depending on the model.
In most situations, however, transferring photos with a USB cable through Windows File Explorer remains the easiest, fastest, and most reliable way to copy photos and videos from your phone to your computer.
Thibaut Mathieu

WhatsApp Complete User Guide
Check out the complete guide to using WhatsApp easily : create groups, send and save photos and videos, make a call, start a video call… and much more !
1. Install WhatsApp
2. Create an Account
3. Send a Message
4. Send a Voice Message
5. Send a Photo
6. Make a Call
7. Create a Group
8. Manage Notifications
9. Security & Tips
Course compatibility: Android tablets and smartphones (Samsung, Lenovo, Huawei, Xiaomi…), iPhone and iPad
Want to learn more ?
Would you like to learn more about how your smartphone works by reading guides and tutorials on smartphone use ? Visit the Smartphone Tutorials section ! Are you also curious about how to troubleshoot your phone ? Then check out the Smartphone Troubleshooting section. Finally, to improve your general computer knowledge—especially about Windows—take a look at my free computer courses, designed for seniors and beginners of all ages.
End of the Tutorial
You now know how to transfer your photos phone.

Thibaut MATHIEU
Editor of Premiers Clics
Editor and writer of Premiers Clics, and author of the book “Je me mets à l'informatique” (only avalaible in french), I share all my computer knowledge to help you learn, using the Premiers Clics's computer basics for beginners and seniors. I also offer tutorials to learn how to use a smartphone.
Also the manager of a computer support and repair company, I fully understand your needs in computer training and assistance. Every day, I answer my clients’ questions about their computers, phones, or tablets.
This experience has given me extensive knowledge in consumer digital technology, allowing me to separate fact from fiction in device protection, identify the most common user mistakes, and provide numerous tips to make the best use of PCs, smartphones, and tablets.
WhatsApp Complete User Guide
Check out the complete guide to using WhatsApp easily : create groups, send and save photos and videos, make a call, start a video call… and much more !
1. Install WhatsApp
2. Create an Account
3. Send a Message
4. Send a Voice Message
5. Send a Photo
6. Make a Call
7. Create a Group
8. Manage Notifications
9. Security & Tips
Course compatibility: Android tablets and smartphones (Samsung, Lenovo, Huawei, Xiaomi…), iPhone and iPad
📱 Smartphone Tutorials
I also offer lessons and practical guides for Android or iPhone. You’ll learn how to :
Set up your device
- Send a photo with text message
- Adjust the volume of my phone
- Open settings
- Free up storage space
- How to connect a Bluetooth speaker ?
- Transfer contacts to new phone
- Transfer photos phone to a PC
- How to see my Google photos ?
- How to get wifi password
- How to get wifi password with a phone ?
- Recover a lost or forgotten password
- How to reset your Gmail account ?
- WhatsApp : complete user guide
These lessons are ideal for users of Android smartphones and tablets.
Smartphone Problems: All Simple Step-by-Step Solutions
WhatsApp Complete User Guide
Check out the complete guide to using WhatsApp easily : create groups, send and save photos and videos, make a call, start a video call… and much more !
1. Install WhatsApp
2. Create an Account
3. Send a Message
4. Send a Voice Message
5. Send a Photo
6. Make a Call
7. Create a Group
8. Manage Notifications
9. Security & Tips
Course compatibility: Android tablets and smartphones (Samsung, Lenovo, Huawei, Xiaomi…), iPhone and iPad

Install WhatsApp
Check out this guide if you want to learn how to install WhatsApp on your phone or tablet.
Create a WhatsApp Account
Check out this guide to create a WhatsApp Account whether it's for yourself or someone else.
Send a message
Check out this guide to learn how to send messages in WhatsApp.
Send a voice message
Check out this tip if you want to learn how to send voice messages in WhatsApp or any other messaging app.
🔹 Computer Basics
- Computer and internet glossary
- Connect à WiFi printer
- How to get wifi password
- Change desktop background
- Transfer Photos Phone
🔹 Windows Basics
- The Mouse
- The Keyboard
- The Desktop
- The Start Menu
- The Taskbar
- Open Windows settings
- Change mouse pointer speed
- Empty Recycle Bin
- Recover deleted files
- Create and organize folders
- Create desktop shortcuts
- Pin a programm on the taskbar
- Compress a ZIP file
- Decompress a ZIP fileMake file and folder icons bigger
- Open a downloaded file
- Change Windows Wallpaper
- Take a screenshot
- All our computer classes
🔹 Internet and Email
- Add a website to the favorites bar
- Creating a Gmail account
- How to send emails and attachments
- Browsing history in Chrome, Edge or Firefox
- Browsing download history in Chrome, Edge or Firefox
- Delete history in Chrome, Edge or Firefox
- Delete cookies and browsing data
- Set Google Chrome Homepage
- How access Netflix from Phone, PC or Tablet
- What is a VPN ?
- How to find the wifi password with a phone
🔹 Computer Protection
🔹 Troubleshooting
🔹 Practical Life

0 commentaire